

How To Turn All White Transparent In Photoshop

In this tutorial I'll prove you how y'all tin can create a transparent background in Photoshop. Making a background transparent in Photoshop is aforementioned as deleting or removing a background.
The white groundwork also makes the selection procedure then piece of cake and you tin make even complex selections like selecting pilus, extracting tree leaves and much more. Allow's dive in to find out more.
Jump to your favorite section:
- Brand A Subject/Object Groundwork Transparent
- Brand A Logo Groundwork Transparent
Make a Subject/Object Background Transparent
Step 1 – Open A White Background Image
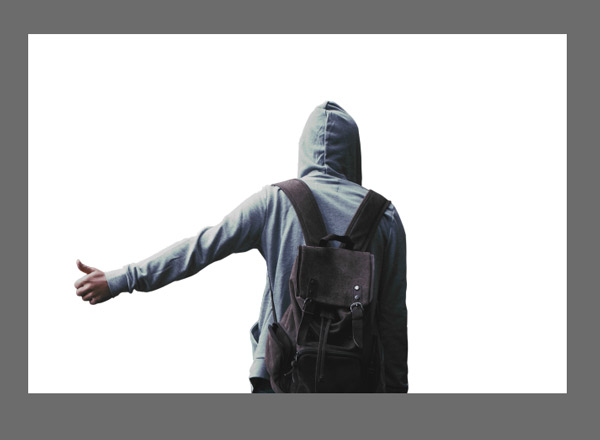
Open up up the photo in Photoshop. You tin open a photograph by selecting File > Open so choose the image which you would like to open. You can use any image for this tutorial similar either yours or may be whatever others but I'k using this one which has a pure white background.
Hither is the image opened in Photoshop:
Footstep two – Duplicate The Image
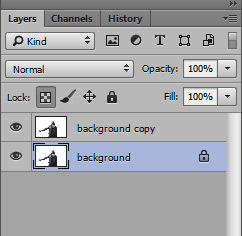
Printing CTRL + J to indistinguishable the background layer or correct-click on the background layer choose 'indistinguishable layer.' We are duplicating the background layer because in Photoshop background layer has no transparency and also, duplicating the layer will not harm your original image.
At present you'll have 2 layer background copy and background (see the below prototype). You tin delete the background layer or you can you can disable the visibility by clicking on the Center-Icon.
Step 3 – Make Selection Using The Quick Choice Tool (W)
Now it's time for selecting the background. The quickest style to that is to use the Quick Selection Tool (Westward). You lot can likewise utilize other tools besides then activate any of the selection tool and select the white background.
Activate the Quick Selection Tool (W) and make sure Add to Selection selection is selected on the option bar.
![]()
Then simply drag it on the groundwork to select it and it will select the background. Here you tin see the marching ants showing that nosotros've selected the groundwork.
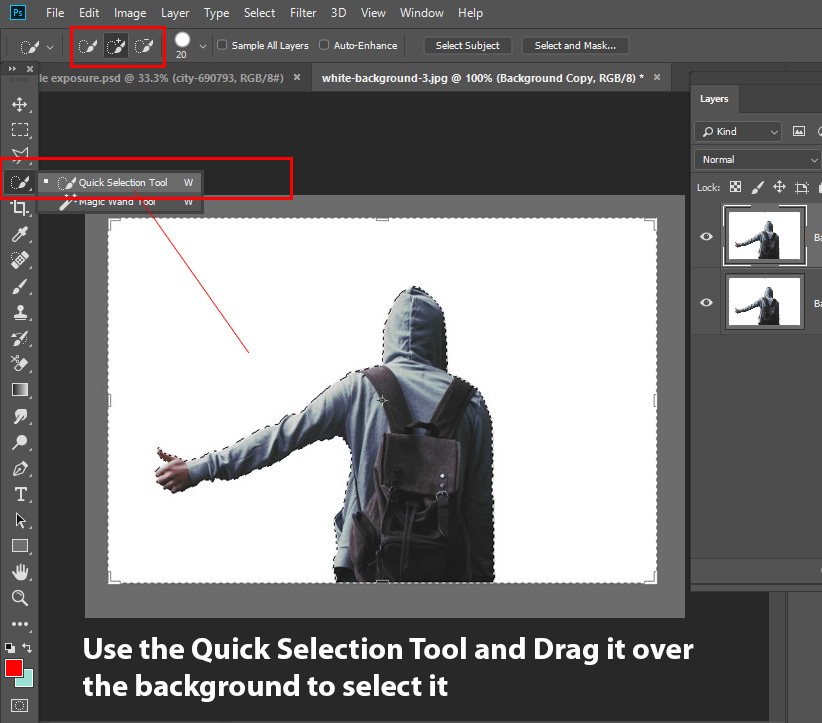
Since we all know that Quick Option Tool (W) works on the colour sampling so sometimes if your subject has white or near to white color (similar you can run into the human has the grayness color jacket) and then it can select that part as well. The reason is simple considering the gray color is near to White colour.
Hither you can see nosotros've man's jacket parts selected every bit well:
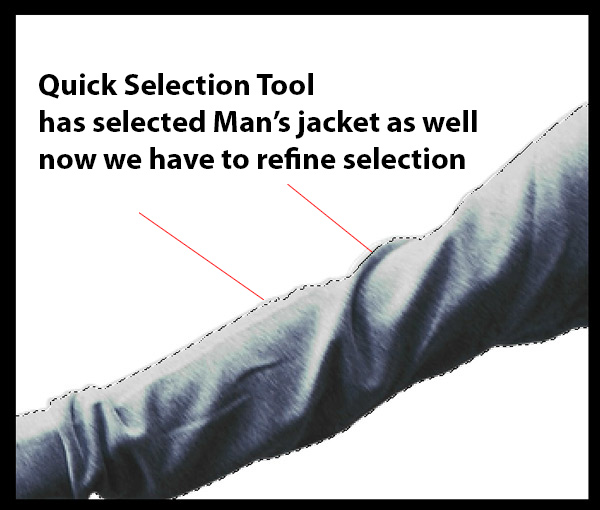
You can fix this issue and for that, you need to minus the selection. Just hold the ALT Fundamental or select Subtract from Selection on the options bar.
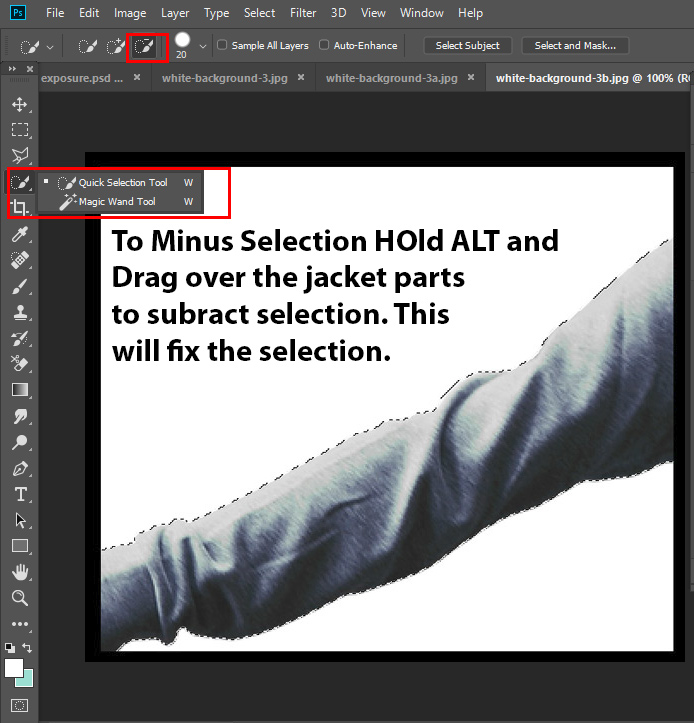
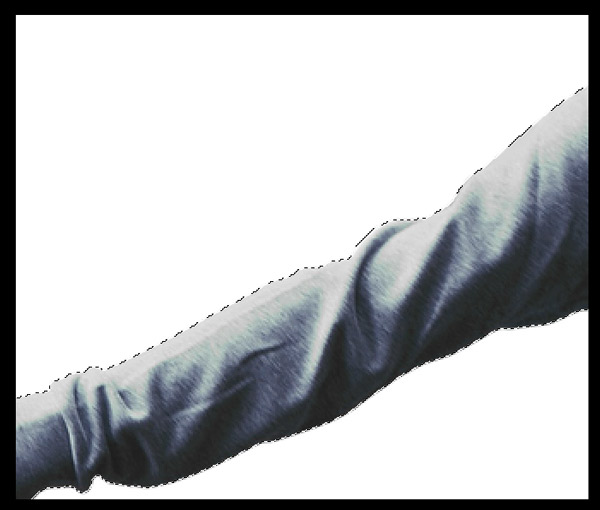
click on the selection where you want to minus the selection. Here you can see the results after correcting selection:
Step four – Delete & Make the Groundwork Transparent
Now the selection is active yous can delete the groundwork to make information technology transparent.
The best way to remove the background is using a layer mask. With layer mask yous can easily go back whenever you want to brand some parts visible again or maybe you made a mistake during pick. So we'll go with layer mask, let's remove the groundwork. While the selection is active, click the second push button at the lesser of layer panel to add a Layer Mask
![]()
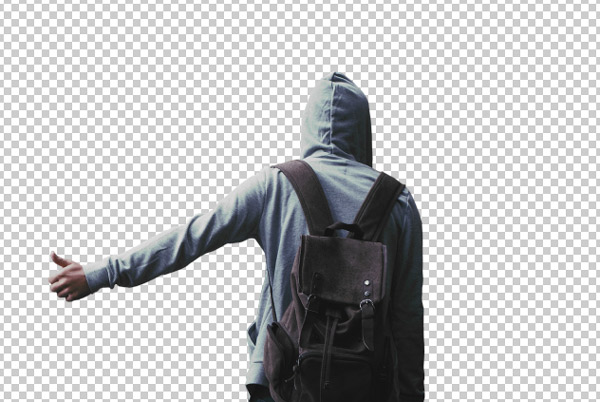
Here are the results with clean and bully transparent groundwork.
![]()
If you become the model extracted instead of groundwork yous tin press CTRL/CMD + I to inverse the layer mask results.
![]()
If y'all think that you made some mistake or past mistake y'all got those parts deleted that you don't want then don't worry layer mask volition take care of that. All you need to practise is to select the layer mask, paint over the area with the white brush which yous would similar to back visible again. Yous can acquire more about masking with layer mask tutorial.
Sometimes when using the quickest method we got some hard edges visible effectually the subject which we don't want. To soften them, you tin manually mask those areas past painting over the layer mask with a soft round black brush. That really makes the results decent and I apply the mask every time to make clean up the unwanted edges or parts.
Footstep v – Salvage the Prototype in the Transparent PNG Format
Now you'll have the image with the transparent groundwork if you are satisfied with the results. But our work has not finished yet nosotros need the preserve the transparent background while saving the image.
Go to File > Export > Save for Web and a below shown dialog box will appear.
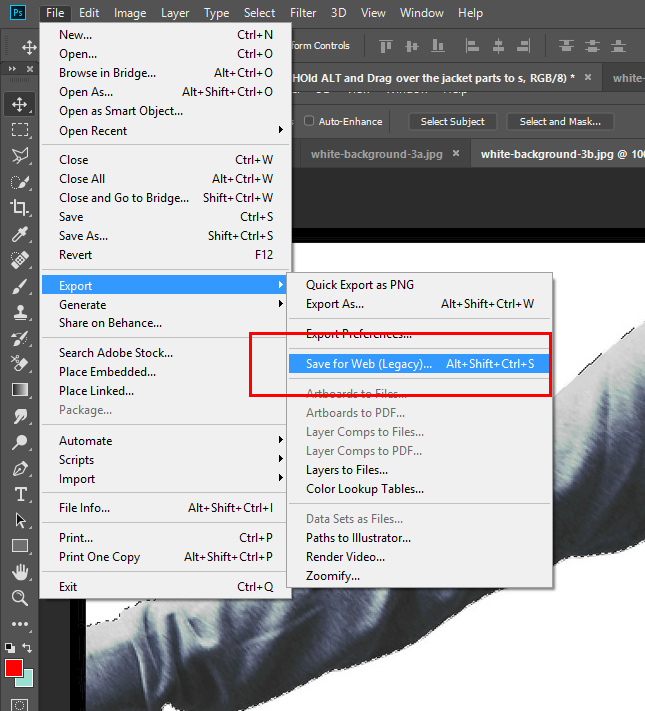
Please don't save the image equally jpeg otherwise you lot'll accept the white groundwork again in the paradigm. Under the preset box select the PNG viii to save the file in PNG format.
![]()
You lot can as well become for PNG 24. You lot can also save the paradigm by selecting File > Save As so merely choose the PNG format but why I'm using the Save For Web?
In below paradigm you can likewise notice many options like you tin can set the resolution of the image, yous can reduce the quality, blur the image, or even y'all can preview the epitome in unlike color profile settings. All these setting are only available for Save For Web command not on Relieve Every bit. That why I choose this options to salve the prototype whenever I desire to save any final results.
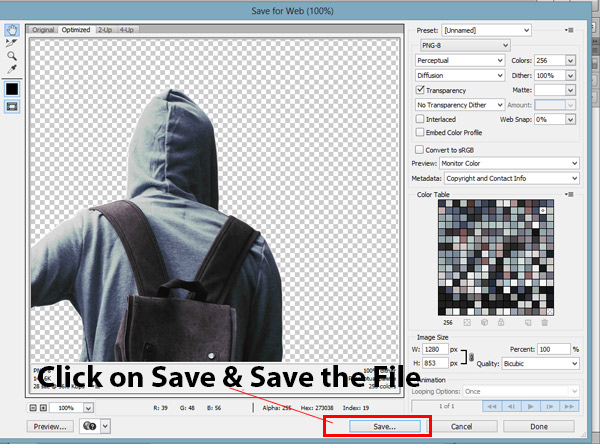
Once you set up the paradigm quality, resolution or possibly you don't want to do annihilation with paradigm settings then just click on the save button. Give any name to image and relieve the file every bit PNG.
Permit see the image:
Very decent results and clear transparent background.
Make a Logo Background Transparent
Step 1 – Open The Sample Logo Image
Ordinarily, a logo always comes with a transparent groundwork, if that's not the case you tin make the background transparent of your logo here. Go to File > Open and open the logo image as shown below.
![]()
Stride ii – Unlock The Background Layer
In order make the background transparent, we need to unlock the layer first. Too, a locked layer doesn't have transparency in Photoshop. To unlock the layer, click on the Lock icon in the layer console to unlock information technology.
Later on unlocking the layer you'll see the lock icon will disappear and at present you tin can start working on the paradigm.
![]()
Step 3 – Make The Logo Groundwork Transparent
To make the background transparent, select it using the Magic Wand Tool (West). Select if from the Tool Panel, click on the white background to select it.
![]()
Click on the add layer mask icon to delete the background you'll take like results as shown beneath.
![]()
Printing CTRL + I to inverse the layer mask results. You lot'll see now the background is transparent.
![]()
Step 4 – Making Middle Spaces Transparent
Now at that place are always some spaces in the middle with background peaking through and you lot tin find in the image below.
We need to repeat the process, select the Magic Wand Tool (W) and and then click on the spaces in the middle and select these white spaces as well.
![]()
One time y'all have the option active, make sure that the layer mask is selected and the foreground colour is gear up to blackness past pressing (D) on the keyboard, and then printing ALT + Backspace to delete the spaces between the logo.
You can come across we have deleted the spaces between the logo as well.
![]()
Repeat the process until you brand the background transparent completely. Hither you tin run into I am done now:
![]()
Step 5 – Preserve Transparency & Save In The PNG Format
To preserve the transparency of the logo, nosotros need to save the image in PNG format. This format will help y'all add your logo wherever you want to without any background backside it.
Get to File > Export > Save For Web:
![]()
Select The PNG Format to save it:
![]()
Now you place your logo wherever you want to. Take a look at the paradigm below to see how you lot tin can place your logo over any epitome and it won't have whatsoever background visible as it is transparent at present.
![]()
Conclusion
I promise you enjoyed the tutorial and let me know if y'all need any assistance I would love to assistance you. If you lot like the tutorial and so do share into the world. Don't forget to requite a try to the tutorial and have a great Photoshopping Day!!
Source: https://www.psdstack.com/photoshop-tutorials/basic/make-white-background-transparent-photoshop/
Posted by: riversalren1997.blogspot.com
0 Response to "How To Turn All White Transparent In Photoshop"
Post a Comment